Git Workflows
You can perform many common Git workflows in Design Center. Most of these are performed from the Workspace and Source Control panels, both of which can be accessed from the sidebar.
Navigate repositories
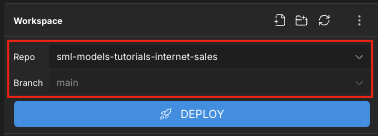
You can navigate the Git repositories connected to your AtScale account from the Workspace panel.
At the top of the panel, use the Repo and Branch fields to switch between repositories and branches.
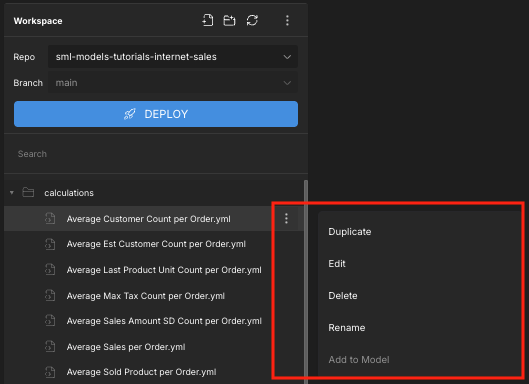
After selecting a repository and branch, you can drill down through the individual folders and files within the repository. You can also use each object's context menu to perform actions like duplicating the object, editing it, deleting it, and so on.
Create a new branch
You can create a new branch from the one you're currently on via the Workspace panel.
To create a new branch:
-
In the Workspace panel, select the Repo you want to create a new branch in.
-
In the Branch field, select the branch you want to base the new one on.
-
Click the context menu for the Branch field and select Create Branch from <branch name>.
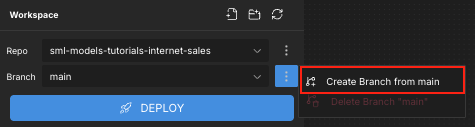
The Create Branch from <branch name> panel opens.
-
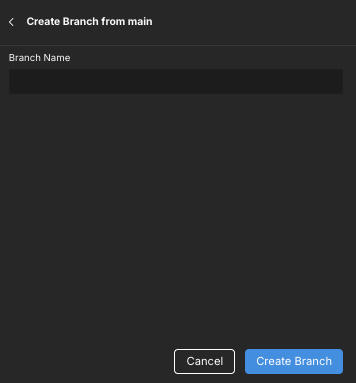
In the Branch Name field, enter a name for the new branch, then click Create Branch.
The new branch is created, automatically pushed to the remote repository, and selected in the Workspace panel.
Delete a branch
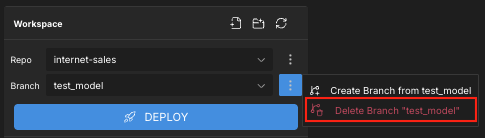
You can delete the branch you're currently on via the Workspace panel.
To delete a branch:
-
In the Workspace panel, select the Repo you want to delete a branch from.
-
In the Branch field, select the branch you want to delete.
-
Click the context menu for the Branch field and select Delete Branch "<branch name>".
-
In the Delete Branch dialog, click Delete Branch.
The new branch is deleted from both the local and remote repositories.
Pull incoming changes
If another user has committed changes to the repository and branch you're working on, you can pull them from the Source Control panel.
To pull incoming changes:
-
In the sidebar, click Source Control. The Source Control panel opens.
-
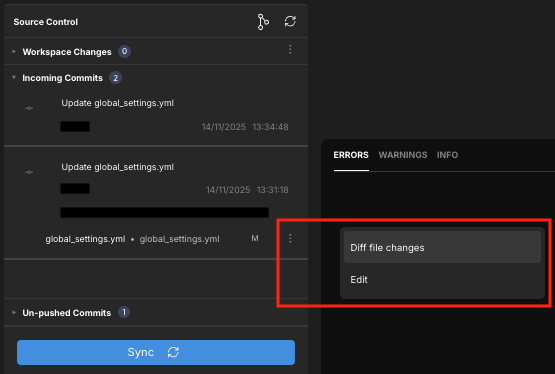
To review the incoming changes before pulling them, expand the Incoming Commits section.
All incoming changes are listed. You can click on each to view the commit ID and the files that were changed. You can also use each file's context menu to view its diff, as well as open it for editing.
-
To pull the changes, click Sync at the bottom of the panel.
View diffs
If you've made changes locally and want to review them before committing, you can view the diff between the original and modified versions of the file.
To view the diff for a file:
-
In the sidebar, click Source Control. The Source Control panel opens.
-
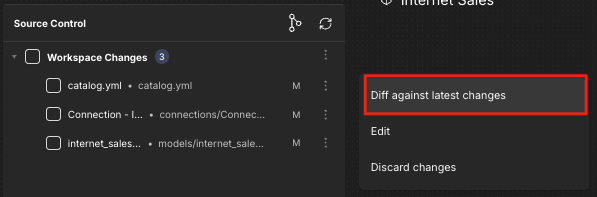
Expand the Workspace Changes section.
-
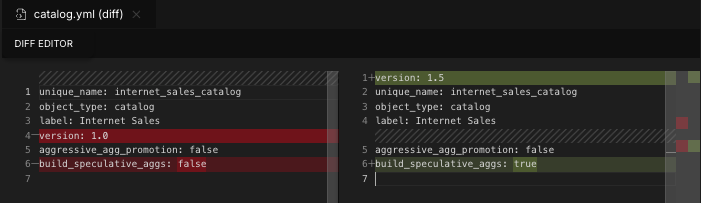
Click the context menu for the change you want to view and select Diff against latest changes.
The selected file opens in the Diff Editor.
Discard local changes
If you have uncommitted local changes you no longer want, you can discard them from the Source Control panel.
To discard local changes:
-
In the sidebar, click Source Control. The Source Control panel opens.
-
Expand the Workspace Changes section.
-
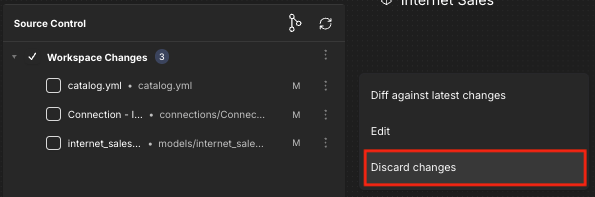
Do one of the following:
-
To discard a single change, click the change's context menu and select Discard changes.
-
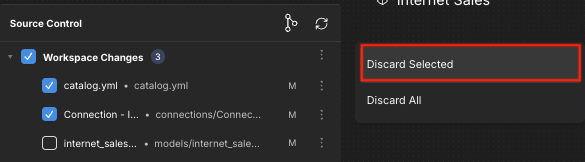
To discard multiple specific changes, select them in the list, then click the context menu for the Workspace Changes section and select Discard Selected.
-
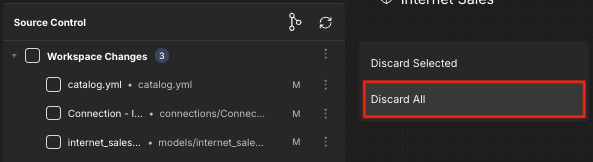
To discard all changes, click the context menu for the Workspace Changes section and select Discard All.
-
The changes are undone and no longer appear in the Workspace Changes section.
Commit and push changes
You can commit and push your changes from the Source Control panel.
To commit your changes:
-
In the sidebar, click Source Control. The Source Control panel opens.
-
Expand the Workspace Changes section.
-
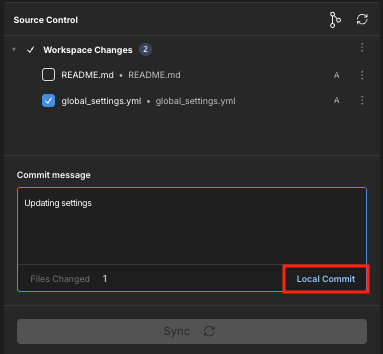
Select the changes you want to commit. The Commit message section appears at the bottom of the panel.
-
Enter a commit message and click Local Commit.
-
To push your changes to the remote repository, click Sync.
Undo local commits
If you have locally committed changes that you do not want to push to the remote repository, you can undo them from the Source Control panel.
-
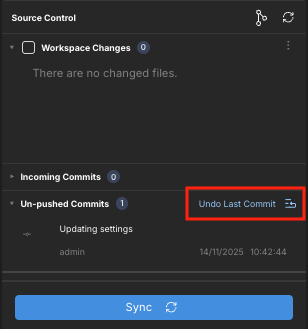
In the sidebar, click Source Control. The Source Control panel opens.
-
Expand the Un-pushed Commits section
-
Click Undo Last Commit.
-
In the dialog that appears, click Undo Commit.
Your changes are uncommitted and appear in the Workspace Changes section of the Source Control panel.